Office 365
- To follow these instructions first log in to the Office 365 admin console for your domain.
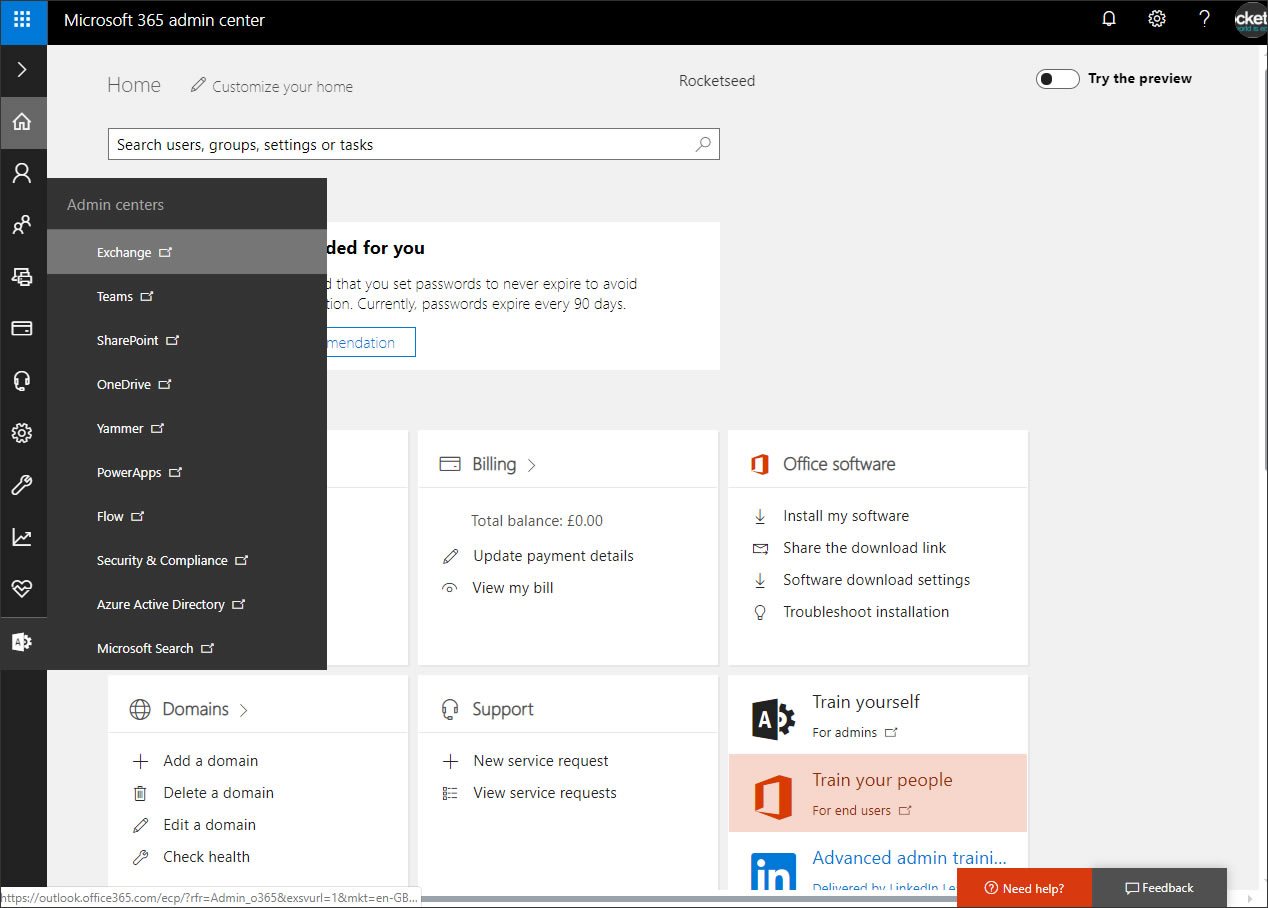
- Then navigate to Admin > Exchange
Step 1 – Enable Rocketseed branding
- Navigate to mail flow > connectors
- Under Connectors, click +
- From the drop down menu below From, select Office 365
- From the drop down menu below To, select Your Organisation’s email server
- Click Next
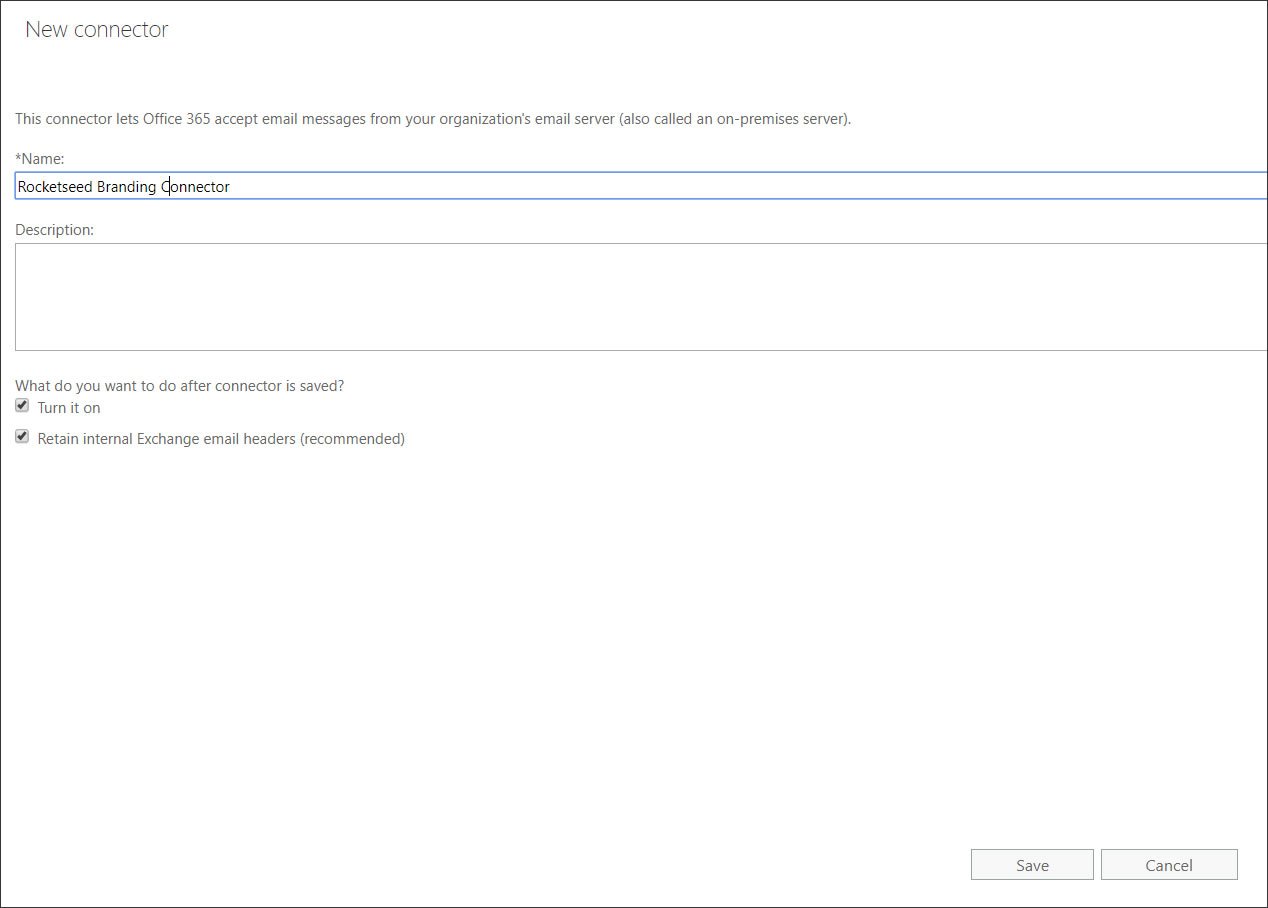
- Name the connector Rocketseed Branding Connector
- Click Next
- Select Only when I have a transport rule set up that redirects messages to this connector
- Click Next
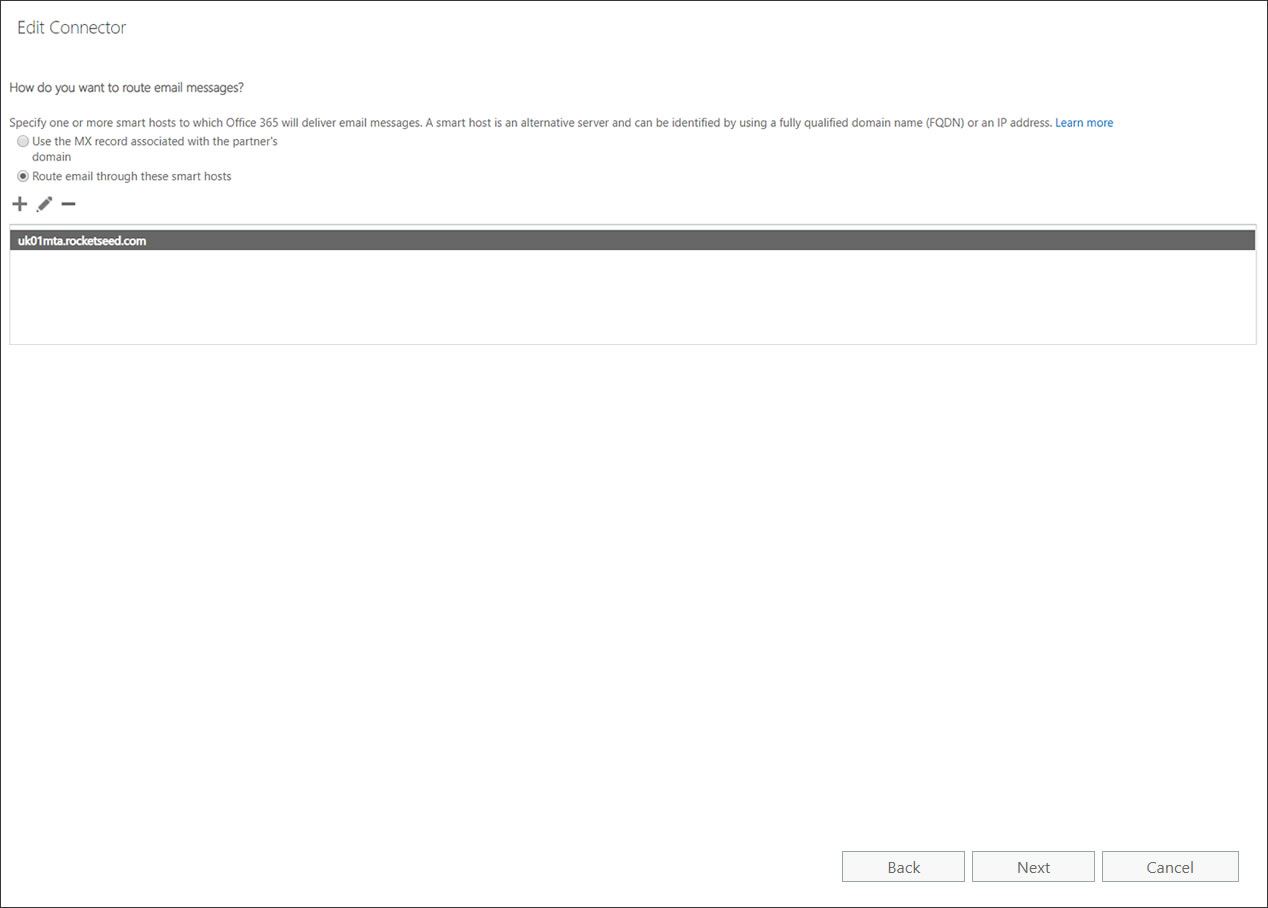
- Select Route email through these smart hosts
- Click + to add the server name specified by Parrot Digital
- Click Next
- Tick Always use Transport Layer Security (TLS) to secure the connection (recommended)
- Select Any digital certificate, including self-signed certificates
- Click Next
- Review the New Connector settings and click Next
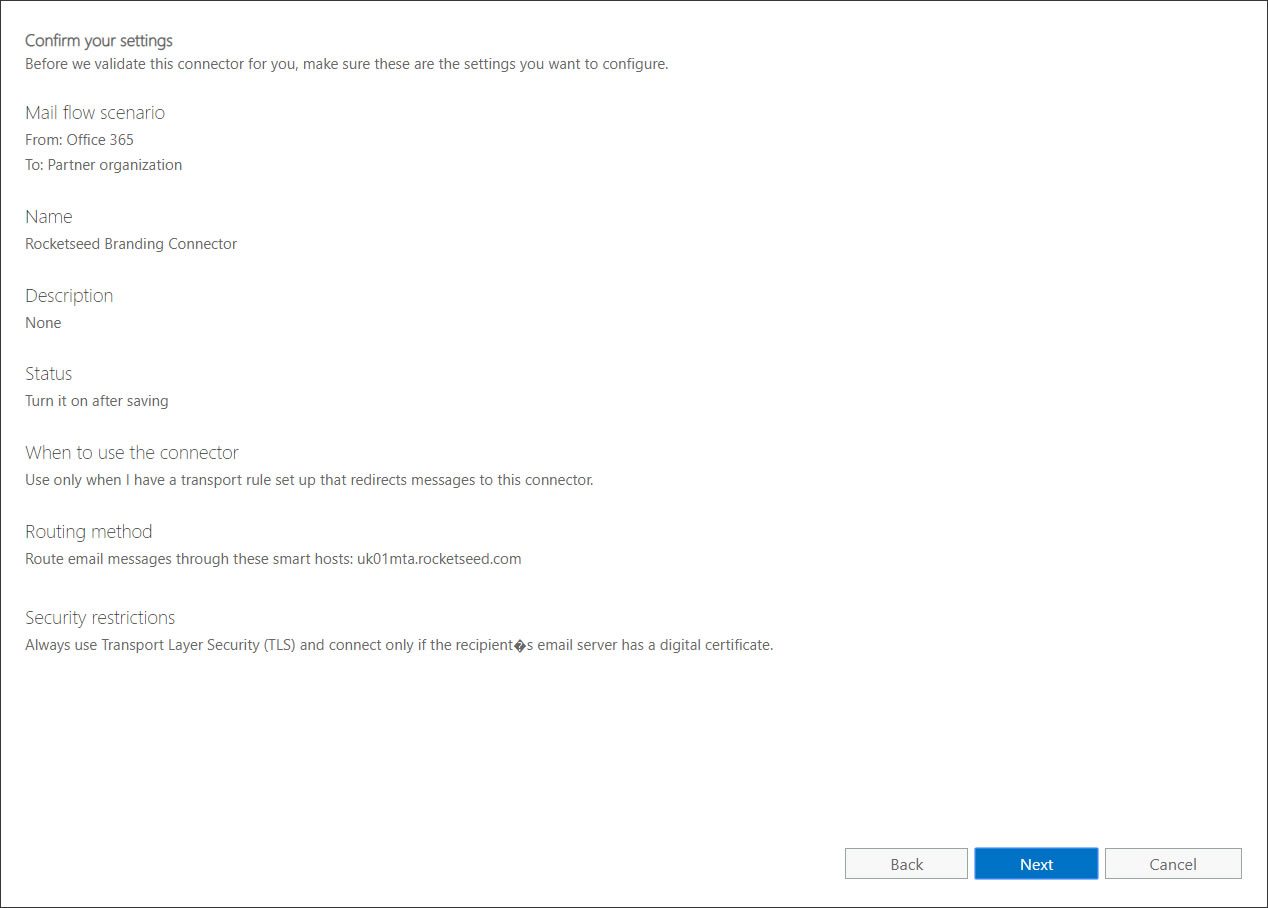
-
- Click + to enter an email address to use to validate the connector. Use an address from another domain than the one being set up.
- Click OK to save the email
- Click Validate and confirm that the Status displays Succeeded for both task
- Click Save
Step 2 – Smarthost connector – Return branded mails to Office 365 for final delivery
Changes made in the following step will not take effect until the Rocketseed system has been updated to return branded messages to Office 365.
- Navigate to mail flow > connectors
- Under Connectors, click +
- Below From: select Your organization’s email server and below To: select Office 365
- Click on Next
- Name the connector Rocketseed Smarthost Connector
- Click Next
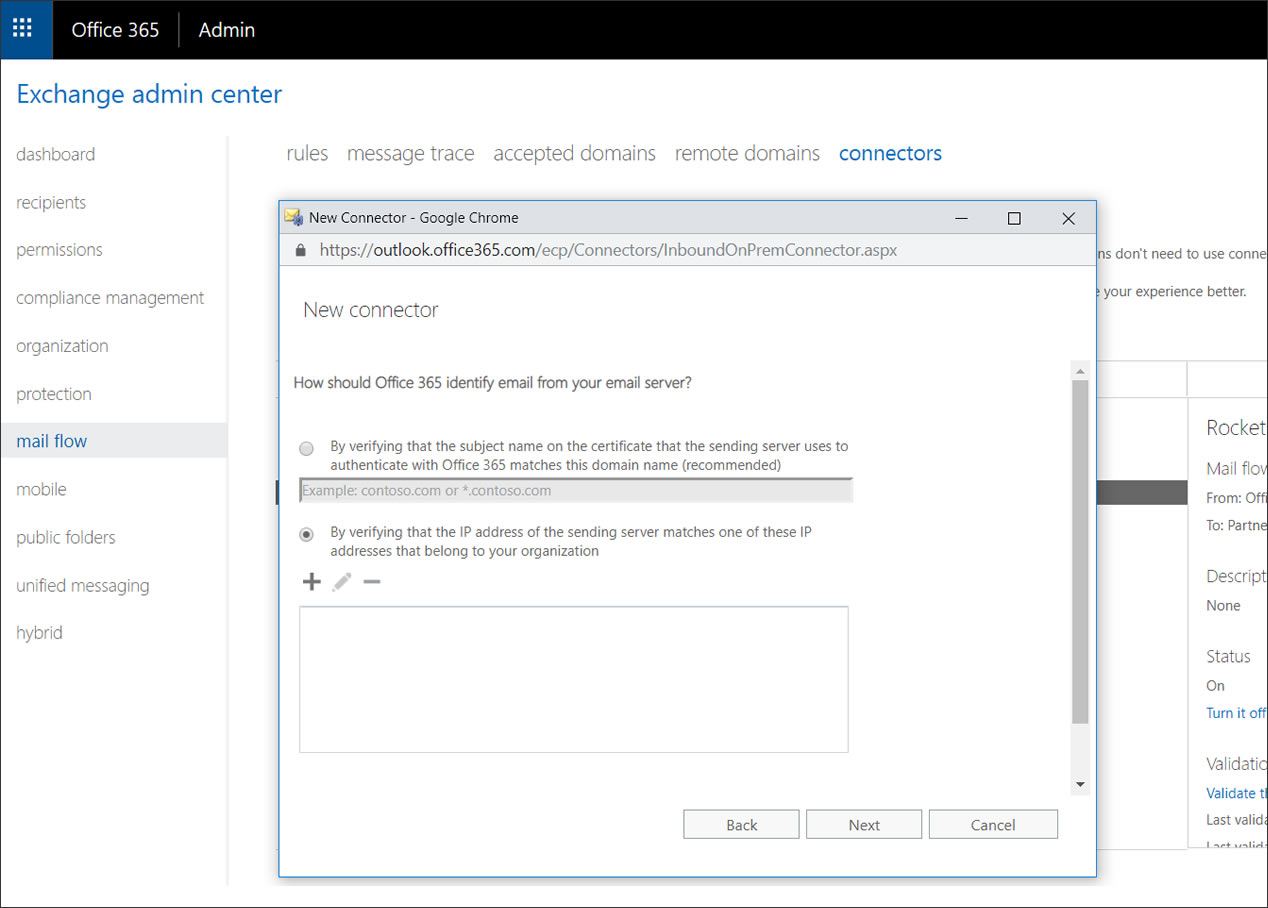
- Select By verifying that the IP address of the sending server matches one of these IP addresses that belong to your organization
- Click + and add the IP addresses supplied by Rocketseed
- Click Next
- Click Save
Step 3 – Whitelisting
- Navigate to protection > connection filtering
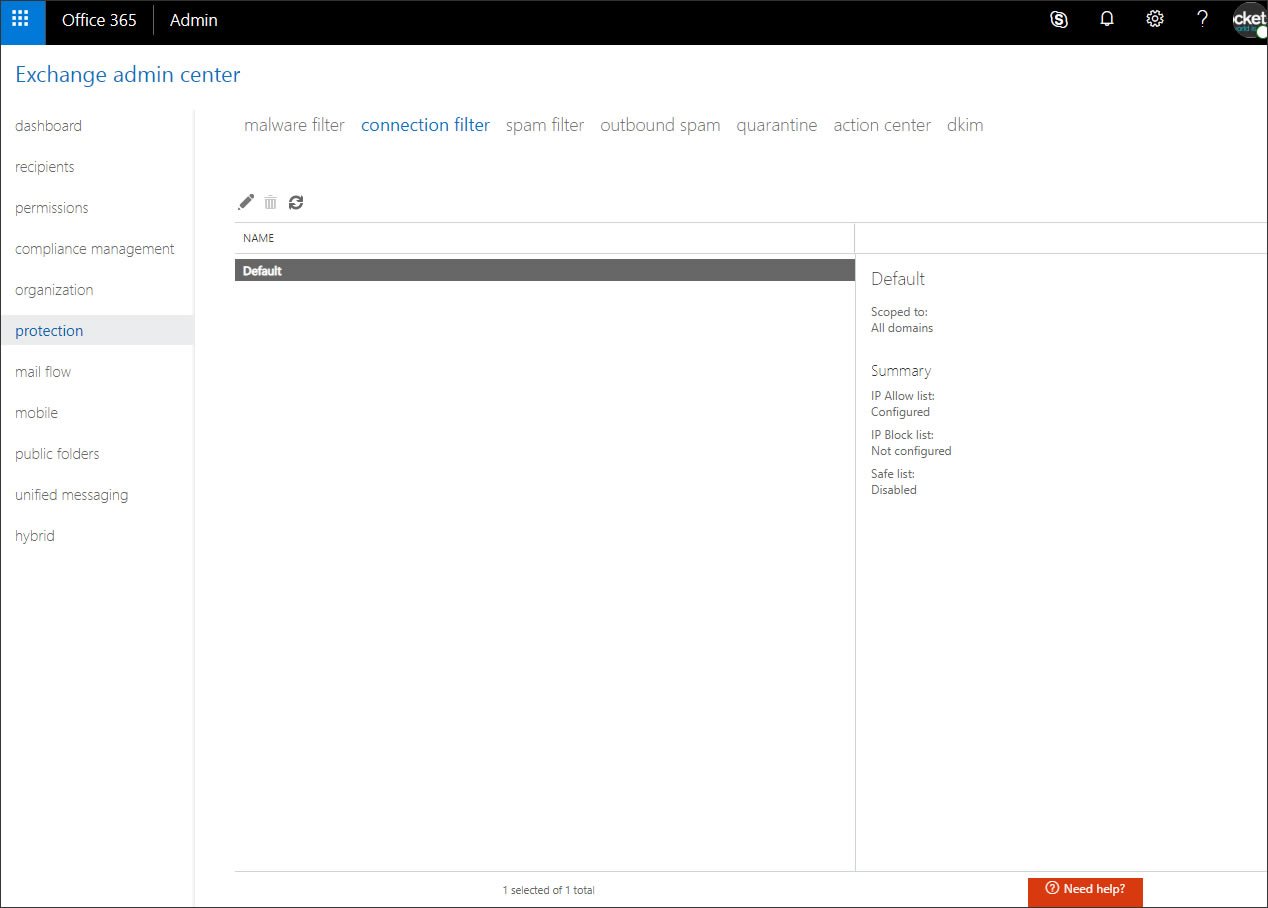
- Select Default and click the edit icon above
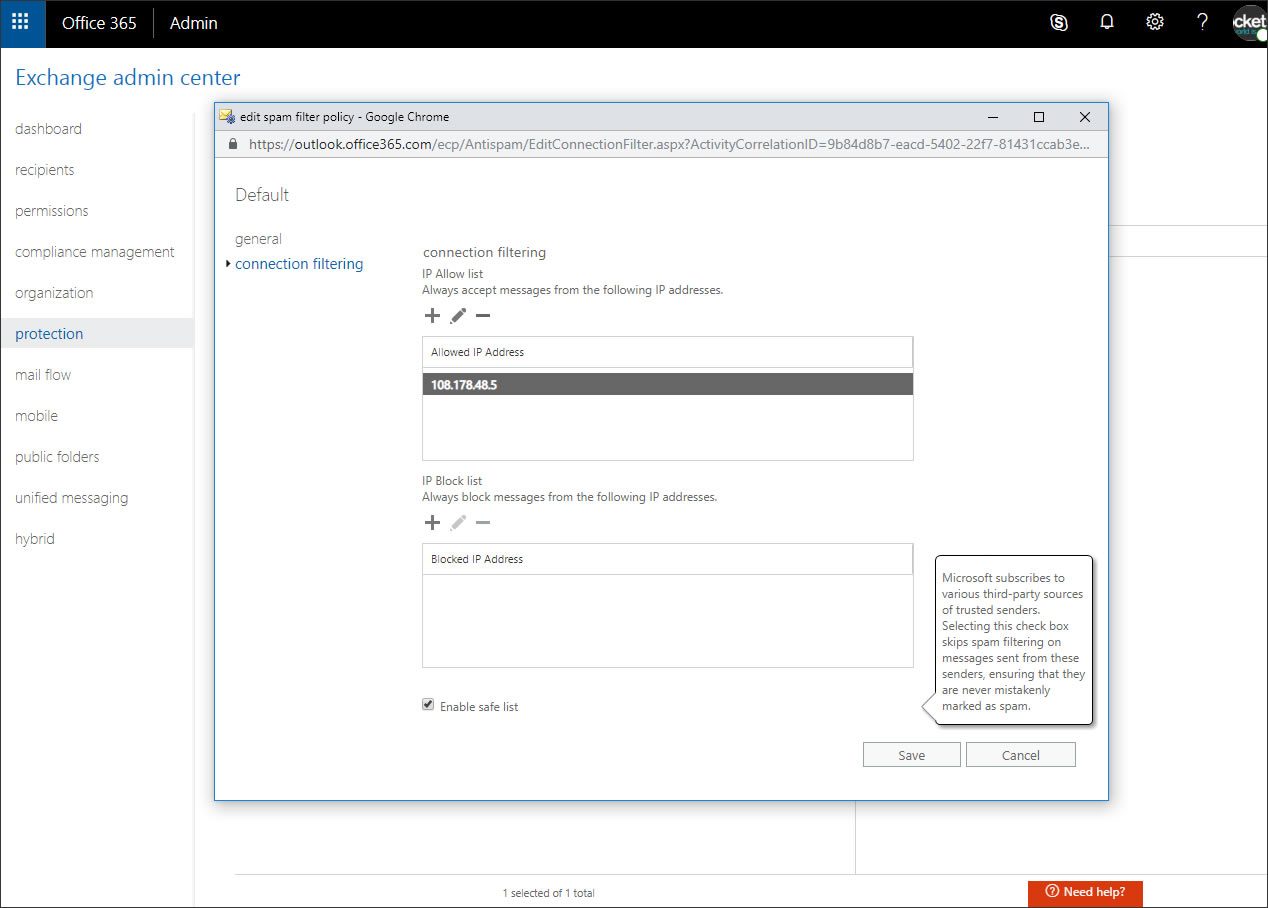
- Select connection filtering
- Under the IP Allow list click +
- Separately enter each IP address supplied by Rocketseed
- Click OK after entering each IP address
- Tick Enable Safe List
- Click Save
- Navigate to mail flow on the left hadn menu, then select rules from top menu
- Click + and choose Create a new rule
- Name the rule Rocketseed Whitelist
- Click More options…
- Click on the drop down menu below Apply this rule if… and select Sender’s IP address is in any of these ranges or exactly matches
- Add the IP numbers supplied by Rocketseed
- Click + to add and OK when done.
- Click on the drop down menu below Do the following and select Modify the message properties… -> set the spam confidence level (SCL)
- Select Bypass Spam Filtering
- Click OK
- Click Save

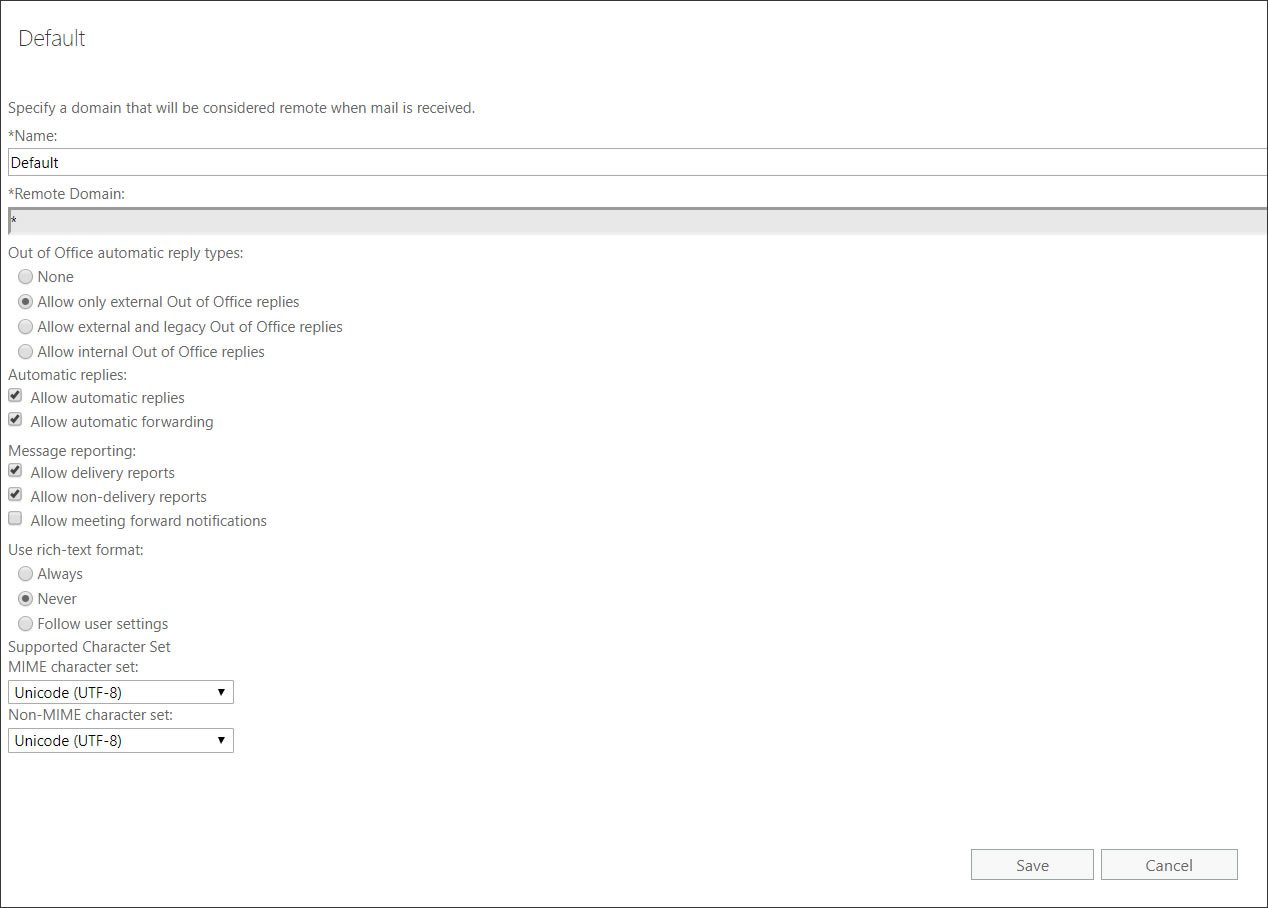
Step 4 – Disable external RTF formatting
-
- Go to mail flow > remote domains
- Select Default and click the edit button above
- Input * in Remote Domain field
- Below Use rich-text format: select Never
- Change Supported Character set using the drop down menus
MIME Character set > Unicode (UTF-8)
Non-MIME character > Unicode (UTF-8) - Click Save
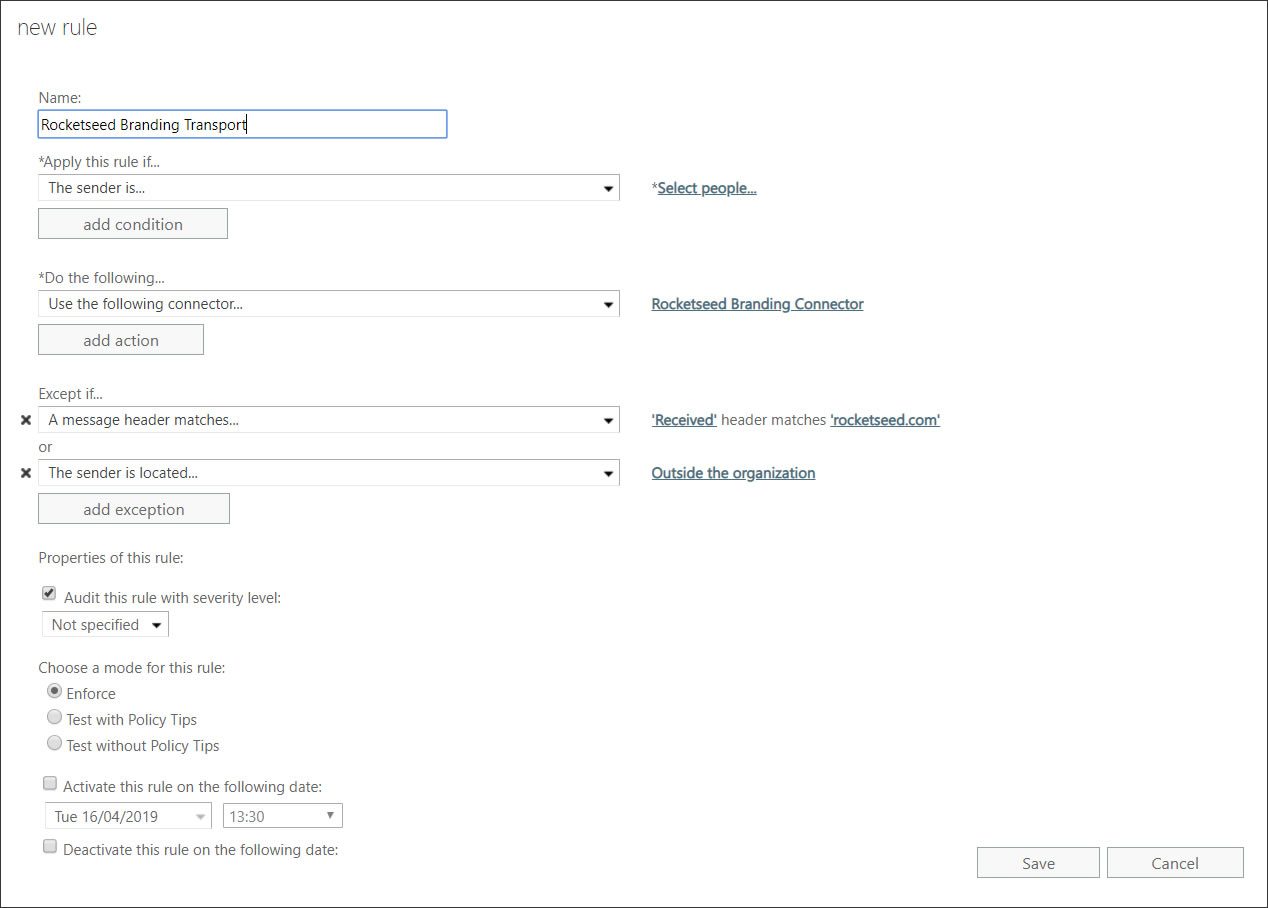
Step 5 – Create Rocketseed transport rule
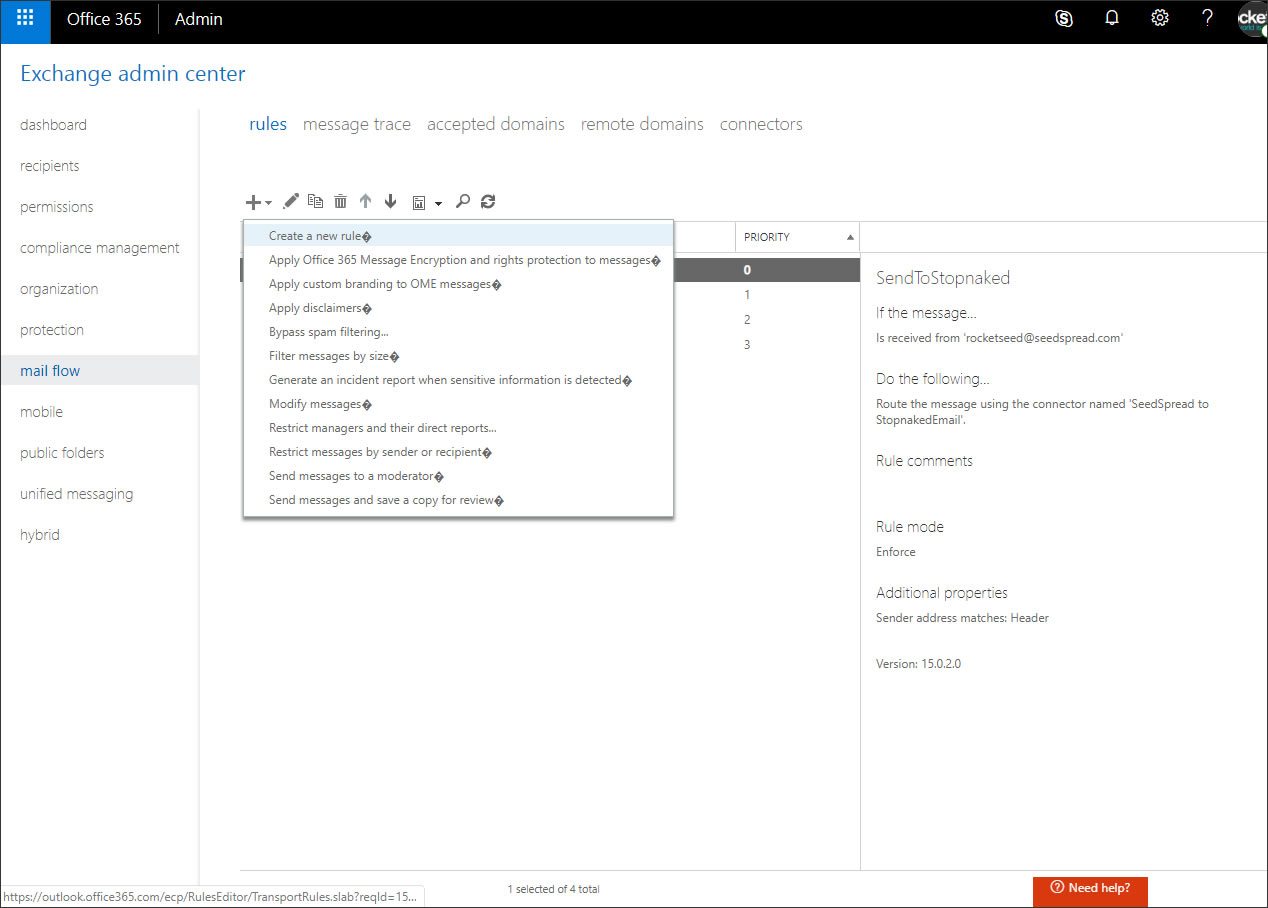
- Go to mail flow > rules
- Click + and select Create a new rule from the drop down list
- Name the rule Rocketseed Branding Transport
- Below Apply this rule if… select The sender is from the drop down menu.
- A pop up box will appear, select a user from the list and click Add. To add recipients who aren’t on the list, type their email addresses and click Check names
- Click OK
Please note: We recommend adding yourself/a test address at this stage to route through Rocketseed. Once configuration is complete, you can specify all senders in the domain or a specified group of senders here.

- Click More options… (near the bottom of the window)
- Below Do the following… select Redirect the message to… and the following connector
- Select the Rocketseed Branding Connector configured in Step 3 from the drop down list and click OK
- Below Except if… Click add exception
- Select A message header… and includes any of these words
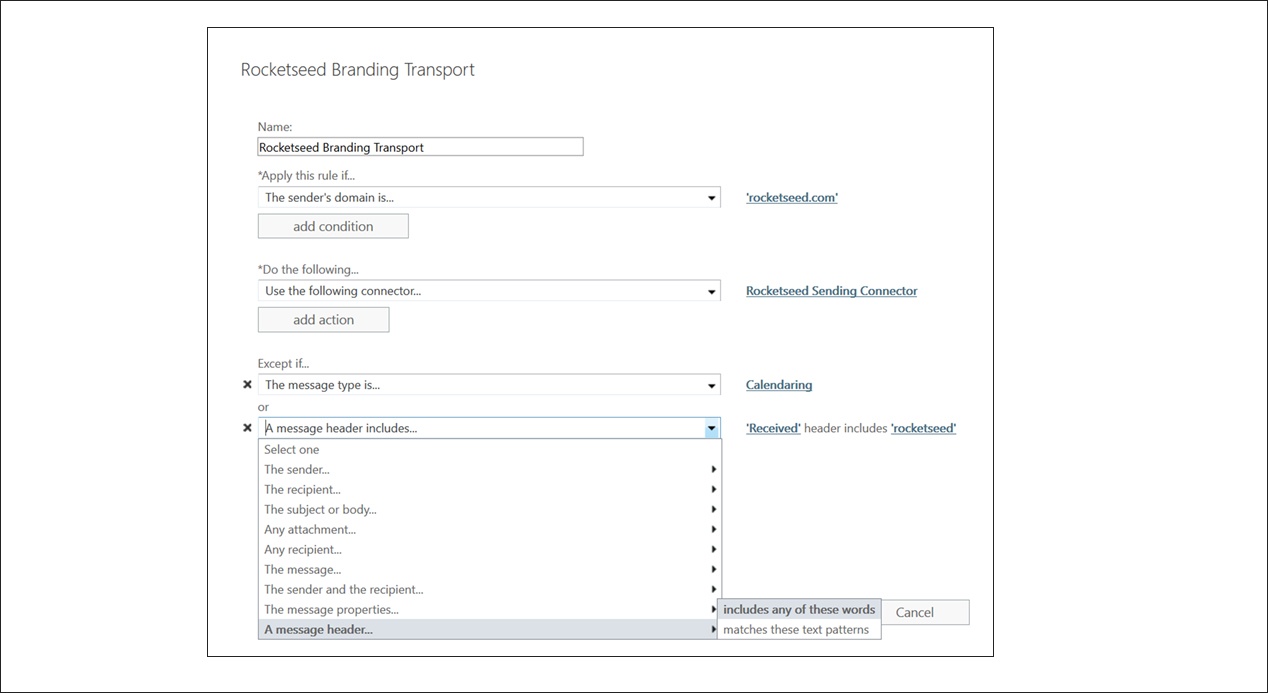
- Click Enter text and type Received as the header name. Click OK
- Click Enter text patterns…
- Type rocketseed.com then click + and OK
- Click add exception again
- Select The message properties… and include the message type
- Select Calendaring and click OK
- Click add exception again
- Select The sender… and is internal/external
- Click on the drop down arrow below select sender location in the pop up box, and select Outside the organisation and click OK
Note: You can also add any other exceptions here if required - Click save
Please inform your Parrot Digital contact that you have made the changes as they will need to update the system config on their side in order to relay out via the Office 365 servers